Pixel LED Effects Download Pack: 7000 Effects for LEDEdit
$50.00
Pixel LED Effects Download Pack For LEDEdit, NeonPlay, LEDEasy, LEDBuild, Madrix, Jinx, and Glediator.
The best video effects and animations for Pixel LED software.
- Files: 7000+
- Size: 25 GB+
- Formats: SWF, TOL, AVI, MP4, and GIF
Pixel LED Effects Download Pack 7000 Effects for Pixel LED Software, Size 25 GB+
Welcome to our website, dedicated to the Pixel LED Effects Download topic. We specialize in creating pixel LED effects and animations for LED programs.
![]()
![]()
![]()
![]()
Types of Pixel LED Effects Pack
- Thoran effects (All sizes)
- Circle effects
- Gate effects
- Road effects
- Building effects
- Display Effects
- Ceiling effects
- Animale effects
- Dance Floor effects
- Cartoon effects
- Flower Rotation effects
- Islamic effects
- Hindu effects
- Christion effects
![]()
![]()
![]()
![]()
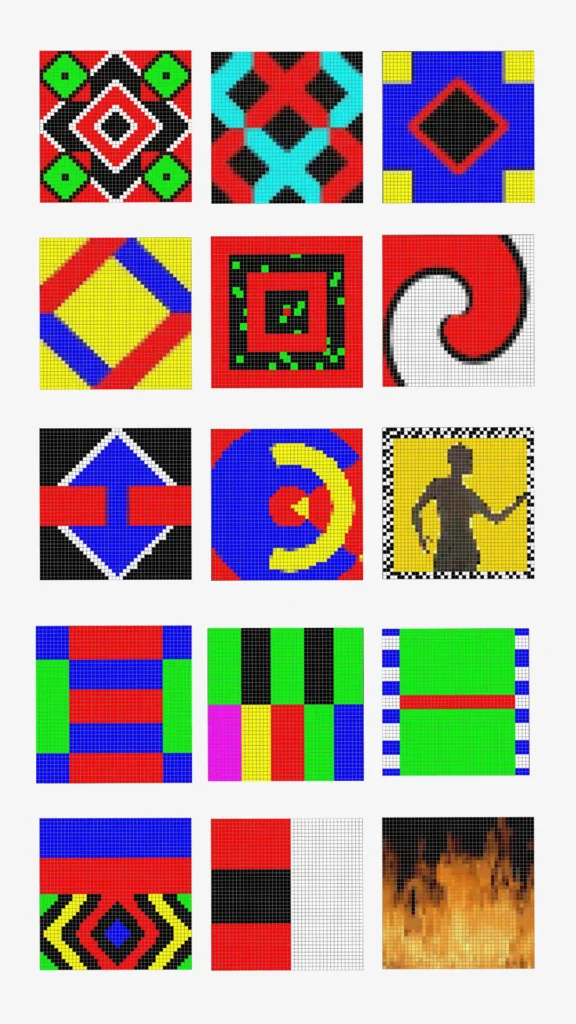
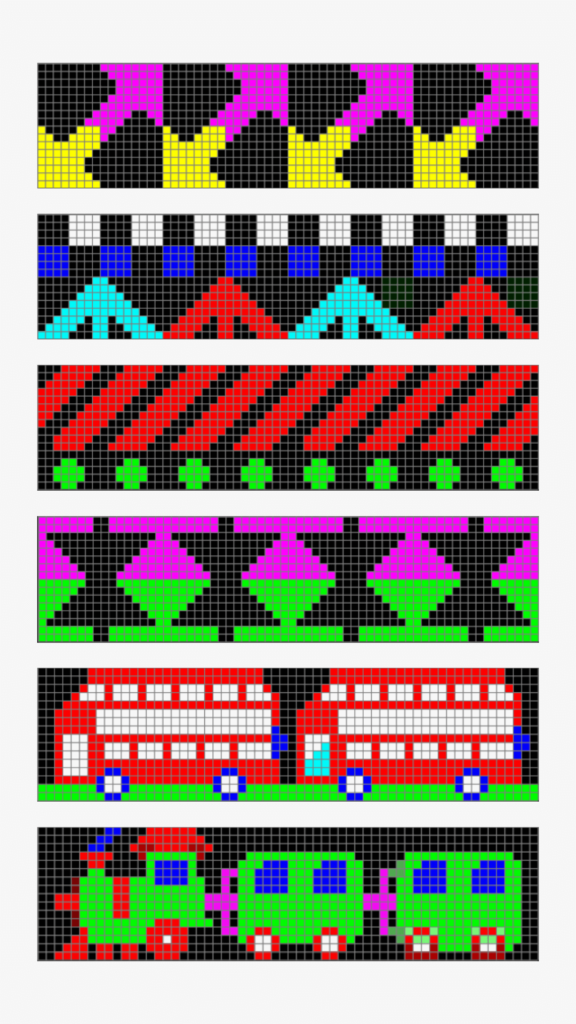
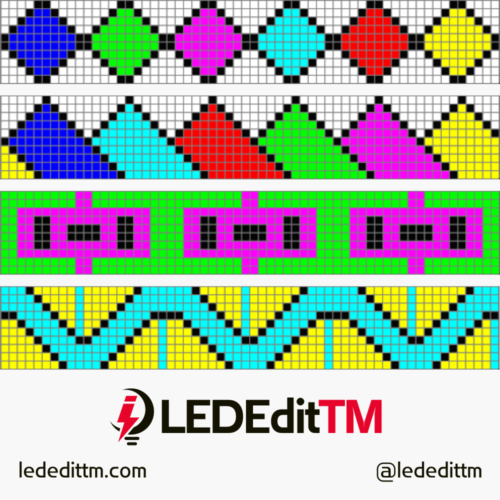
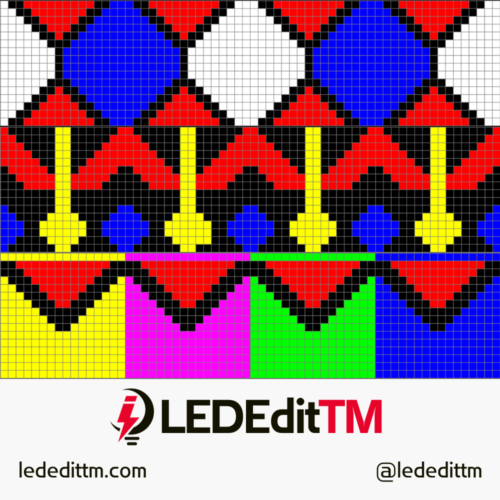
High-quality video effects were created especially for Pixel LED software.
Here you can find pixel-led new effects for programs like LEDEdit, NeonPlay, LED Easy, LED Build, Madrix, Jinx, and Glediator.
![]()
![]()
![]()
![]()
![]()
![]()
Pack of Pixel LED video effects in SWF, TOL, AVI, MP4, and GIF video formats for LED programs!
All the animations in this pack are unique and were created by our team with years of experience in Pixel LED!
This pack contains hundreds of Pixel LED animations for programs that support your LED controller!
![]()
![]()
![]()
There are many types of Pixel LED effects on the LEDEdit TM website.
With LEDEdit TM, your payment is safe, and you can download the LED effect immediately!
13 reviews for Pixel LED Effects Download Pack: 7000 Effects for LEDEdit
Download Pixel LED Effects 🤩
Pixel LED Effects Download Pack For LEDEdit, NeonPlay, LEDEasy, LEDBuild, Madrix, Jinx, and Glediator.
If you're looking for LED effects, you've come to the right place! Check out our unique animations for LEDEdit and more!
We offer a wide range of animations and effects that are compatible with LEDEdit, the popular LED control software. Our animations are designed to bring life to your LED displays and create stunning visual effects that will capture your audience's attention.
- Files: 7000+
- Size: 25 GB+
- Formats: SWF, TOL, AVI, MP4, and GIF
Our led effects package was created by professionals, and our animations are specially designed for controllers and led programs!
Whether you're looking for simple animations or complex effects, our collection has something for everyone. From colorful transitions and scrolling text to dynamic graphics and mesmerizing patterns, our animations are sure to make your LED displays stand out.
So why wait? Start exploring our collection today and discover the perfect animations for your Pixel LED projects!
This pack contains hundreds of Pixel LED animations for programs that support your LED controller!
All effects in this pack are unique and were created by our team with years of experience in Pixel LED!


Types of Pixel LED Effects Pack
- Thoran effects (All sizes)
- Circle effects
- Gate effects
- Road effects
- Building effects
- Display Effects
- Ceiling effects
- Animale effects
- Dance Floor effects
- Cartoon effects
- Flower Rotation effects
- Islamic effects
- Hindu effects
- Christion effects
How to download Pixel LED Effects?
Look for a "Buy This Now!" button, click on it to start purchasing, and then download.
How can I pay for Pixel LED Effects Pack?
The payment method for the Pixel LED Effects is through credit or debit cards or PayPal, Your Visa card must be activated for online purchases by your bank.
Are these Pixel LED Effects working with LEDEdit Software?
Yes, Pixel LED Effects is designed to work with the LEDEdit software. LEDEdit is a popular software for programming and controlling LED lights, including pixel LEDs.


Hon Lee Kon –
Thank you from Malaysia; I benefited very much from it on the screens.
Charlo Theuma –
In my opinion, it is one of the best effects I have seen
LUIS FERNANDO PEREZ –
good effects, good price.
Gervais Pondi Oum –
Thank you very much. As promised, the space and number are correct
Celso vitor Figueiredo –
In fact, I found it very suitable for all the purposes I work with in India
Jainendra Kumar –
I received the effects. It’s okay.
Royston Yates –
The effects are good. Thank you.
KAYO VINICIOS –
The effects are very good. Thank you for your effort. I will buy the rest of the effects.
JESUS MORENO –
Thanks thanks thanks very much, Best effects I’ve found.
Samar Sabry –
Best effects for Led controllers.
Thanks
Gherman Catalin –
It contains many effects that exceeded my expectations. Thanks.
Rohit –
awesome, thanks
रामकिशोर सेन –
रूण
प्रभाव बहुत अच्छे हैं। आपके प्रयास के लिए धन्यवाद। मैं बाकी प्रभाव भी खरीदूंगा।