Book Categories:

3D Patch With The Matrix Generator
In this tutorial, we will create an easy 3D patch with the Matrix Generator.
Task:
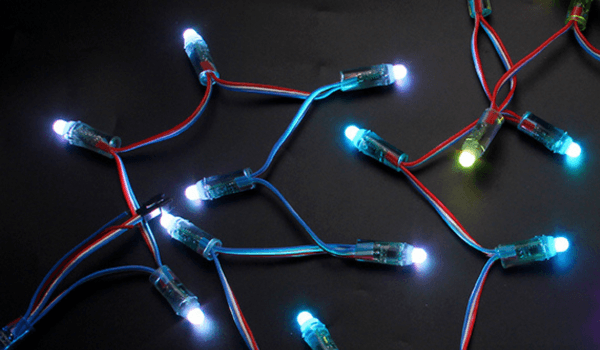
We must create a patch for a 3D matrix of single-pixel RGB fixtures. This project has 20 fixtures in X, 16 in Y, and 20 in Z installed.
The space between the fixtures in Y is 1 pixel.
Regarding the DMX address assignment, the fixtures are addressed column by column, beginning with the front top left fixture z-layer-wise, and starting in DMX Universe 1 with DMX Channel number 1.
1- In MADRIX, please go to Preferences > Matrix Generator. [Keyboard shortcut: F2]

2- The Matrix Generator opens with the default settings.
The full explanation of all functions of the Matrix Generator is found in the MADRIX 5 manual chapter: »Using The Software > Patching > Matrix Generator.

3- In the Matrix Generator, we must change the settings to get the required matrix.
- We don't need to change the Protocol and the Product if we start the Matrix Generator after a restart of MADRIX.
- The Protocol must be DMX.
- We are using the Product:! generic RGB Light 1 pixel.
- The settings in the Placement section:
- The Count X has to be set to 20, the Count Y has to be set to 16, and the Count Z must be 20.
- The offset for Y has to be set to 1.
- In the Addressing section, we need to make the following changes:
- According to the task, the Start Corner should be Top Left.
- The Main Orientation has to be changed to vertical.
- The Z-Order will be set to the default value Front To Back.
Pixel LED Effects Download Pack: 7000 Effects
- Files: 7000+
- Size: 25 GB
- Formats: SWF, TOL, AVI, MP4, and GIF
Now we click “OK“. [Keyboard shortcut: Enter]

4- After the Matrix Generator was closed, MADRIX created a new matrix with a size of 20 x 31 x 20.
If you need help to change the MADRIX 5 Preview from 2D to 3D presentation mode, please look at the chapter »User Interface [GUI] > 3 Previews of the MADRIX 5 Help and Manual.

Congratulations! You have successfully learned how to create a 3D patch with the Matrix Generator.


Pixel LED Effects Download Pack: 7000 Effects for LEDEdit
https://lededittm.com/pixel-led-effects-download-pack-7000-effects-for-lededit