Book Categories:
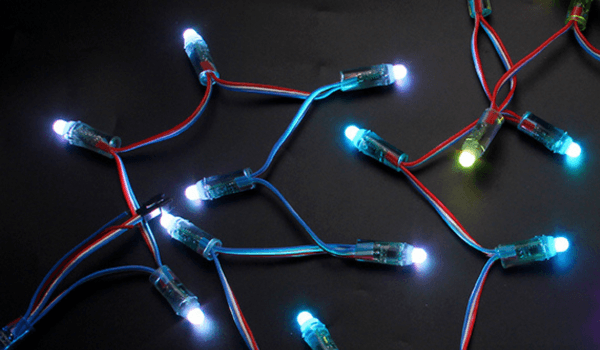
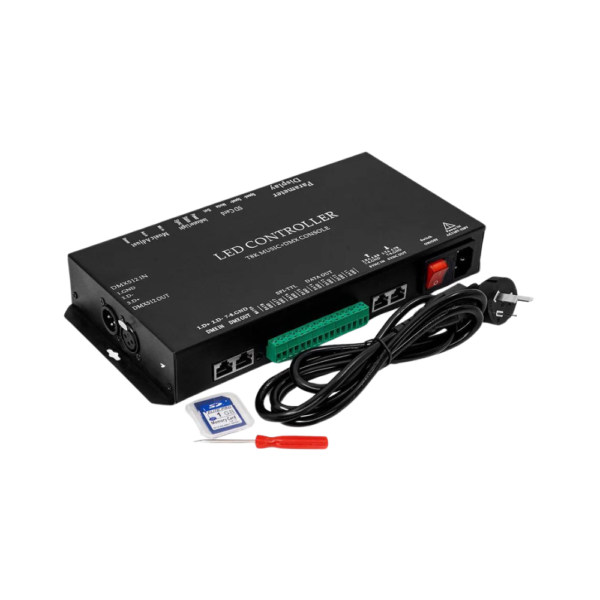
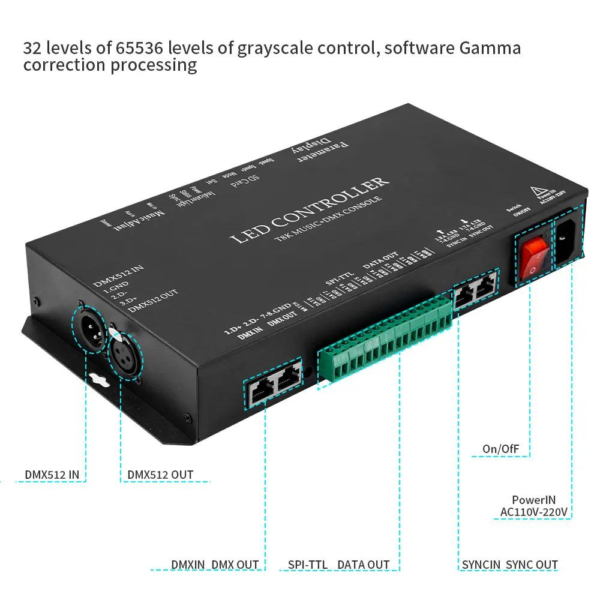
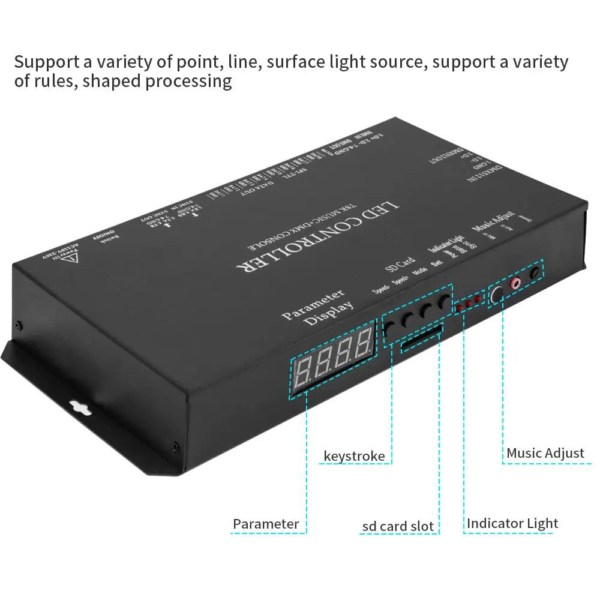
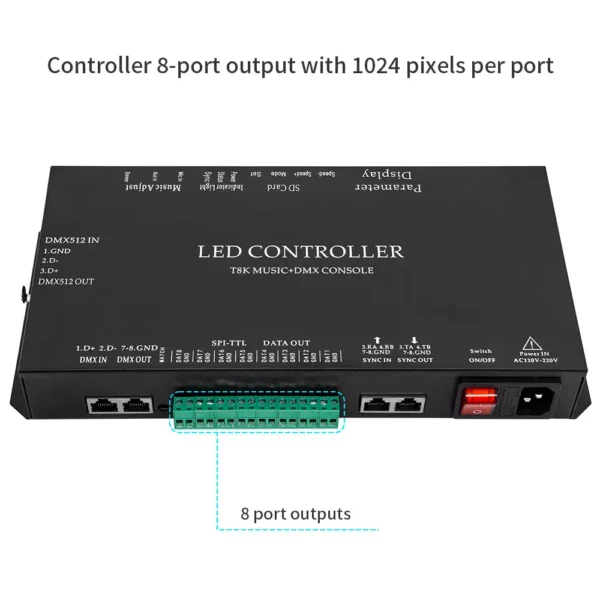
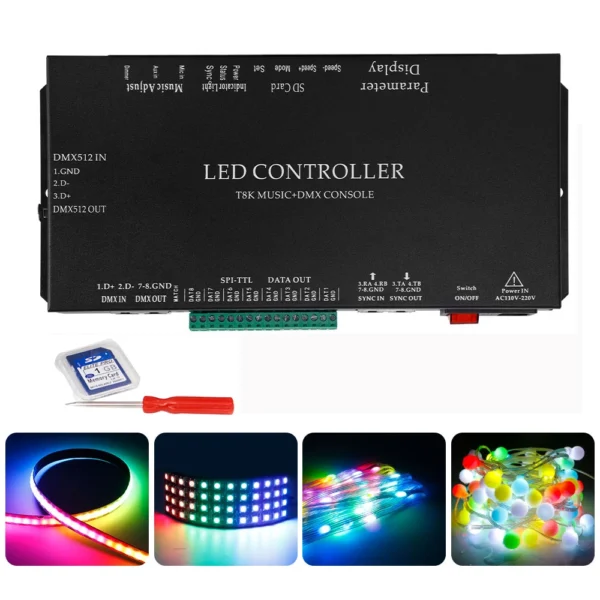
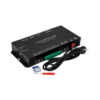
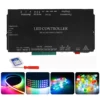
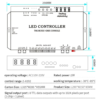
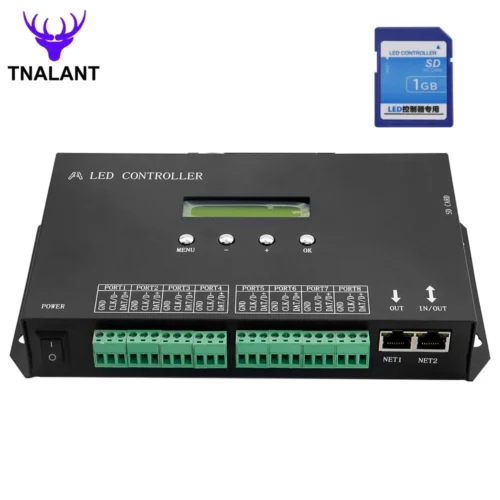
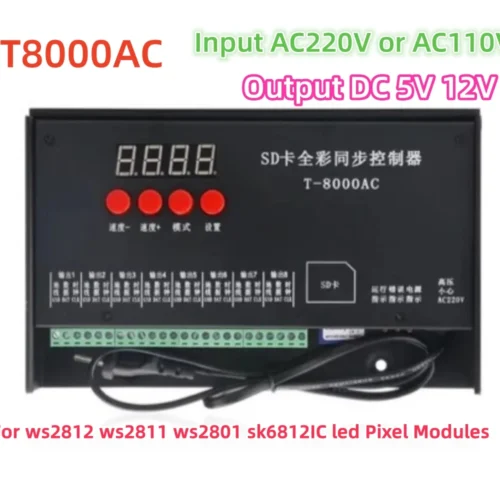
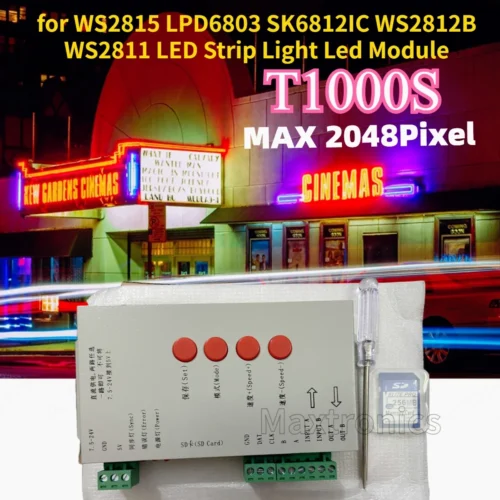
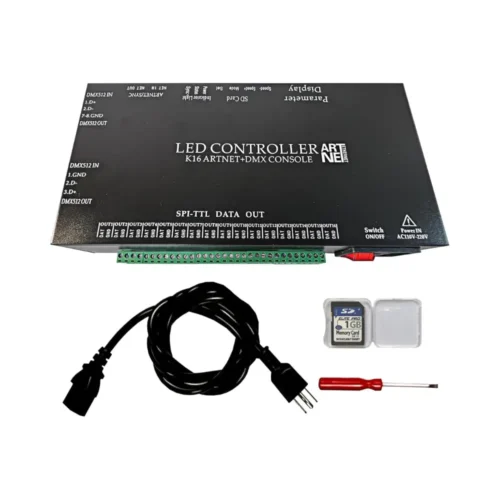
T8K Music DMX Console SPI-TTL Led Strip Light Controller 8 Channels Port With Mic in/Aux in For WS2811 WS2812B WS2813 WS2815
$56.99
- Model Number: T8K Music DMX Console
- Oscillation frequency: Hz
- Connection Mode: Wire
- Warranty: 3Years
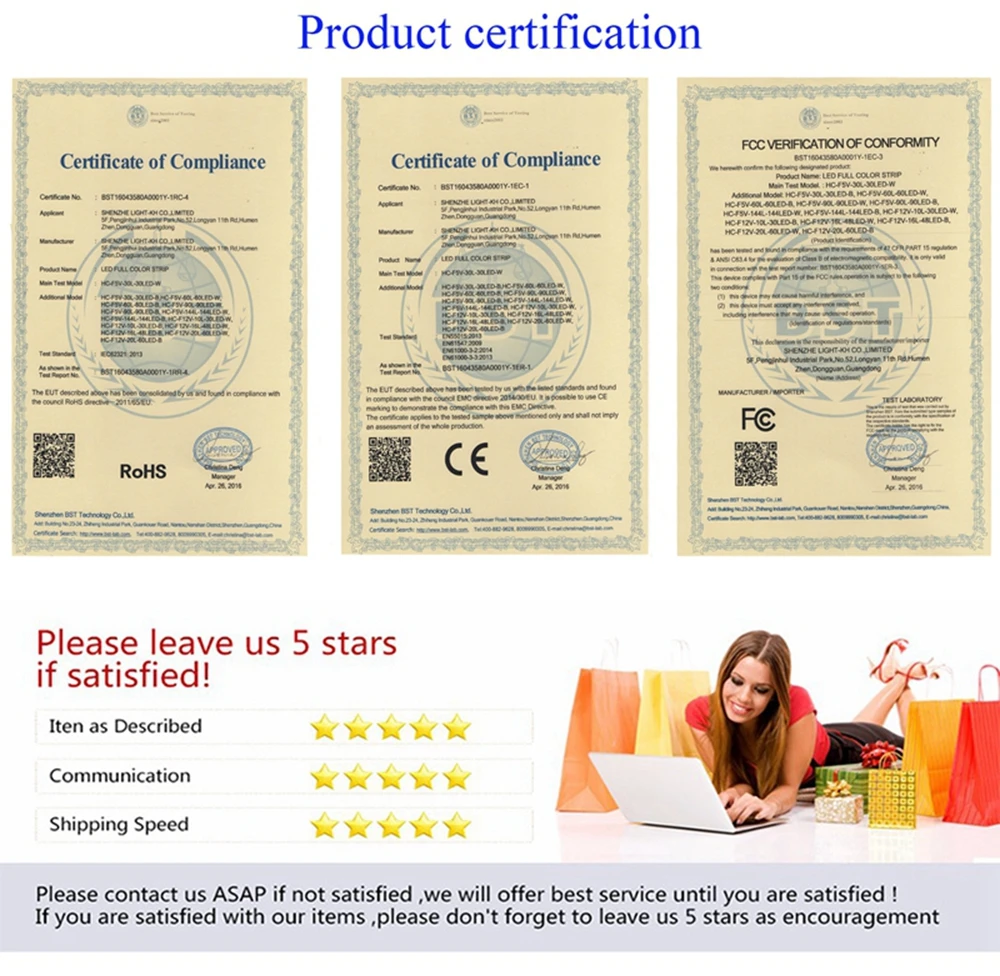
- Certification: CCC, CE, FCC, ROHS
- Voltage: 110-240V
- Material: ABS
- Wattage: 1
- Power Source: DC
- Max. Load Power: 8192Pixels
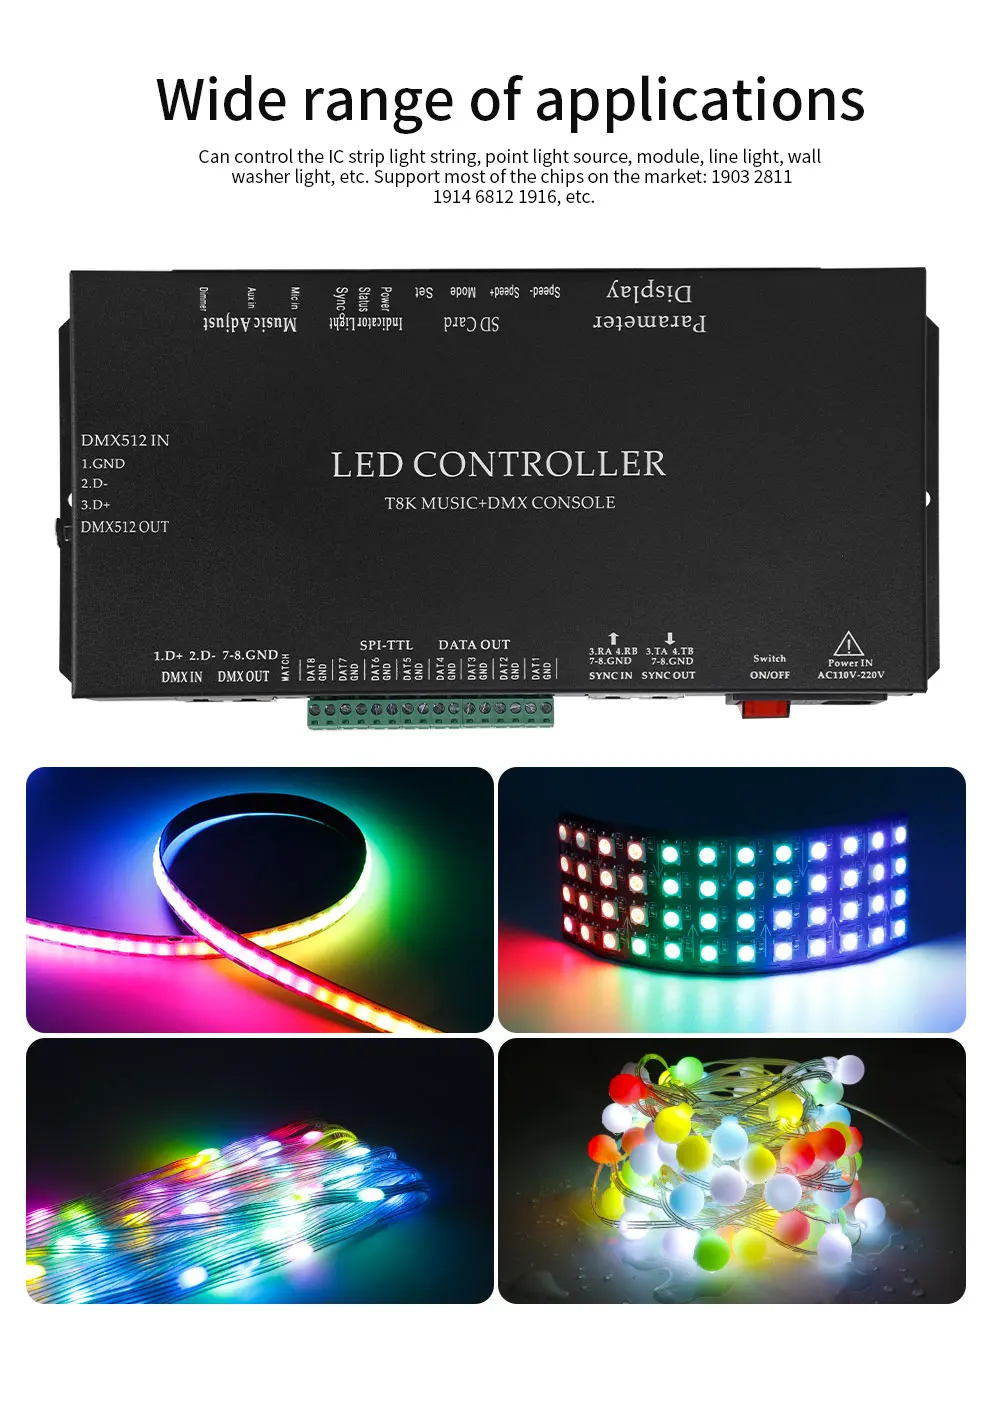
- Applicable Lights: WS2811/WS2812B/WS2813/WS2815/UCS1903/UCS1912/TM1804/TM1809/TM1812
- Controlled Method: DMX/Music
- Item Type: RGB controller
Instructions for Use
T-8000-1903 / K-8000 LED Controller
P Mode: Normal Mode
C Mode: Music Mode
1. Effect Program Creation
When creating an effect program, select T-8000-1903 or K-8000 as the controller model in the software.
After completing the program:
- Copy the finished file to the SD card.
- Turn off the controller power.
- Insert the SD card into the controller.
Warning: Always turn off the power before inserting or removing the SD card to prevent damage to the card.
2. Controller Cascading
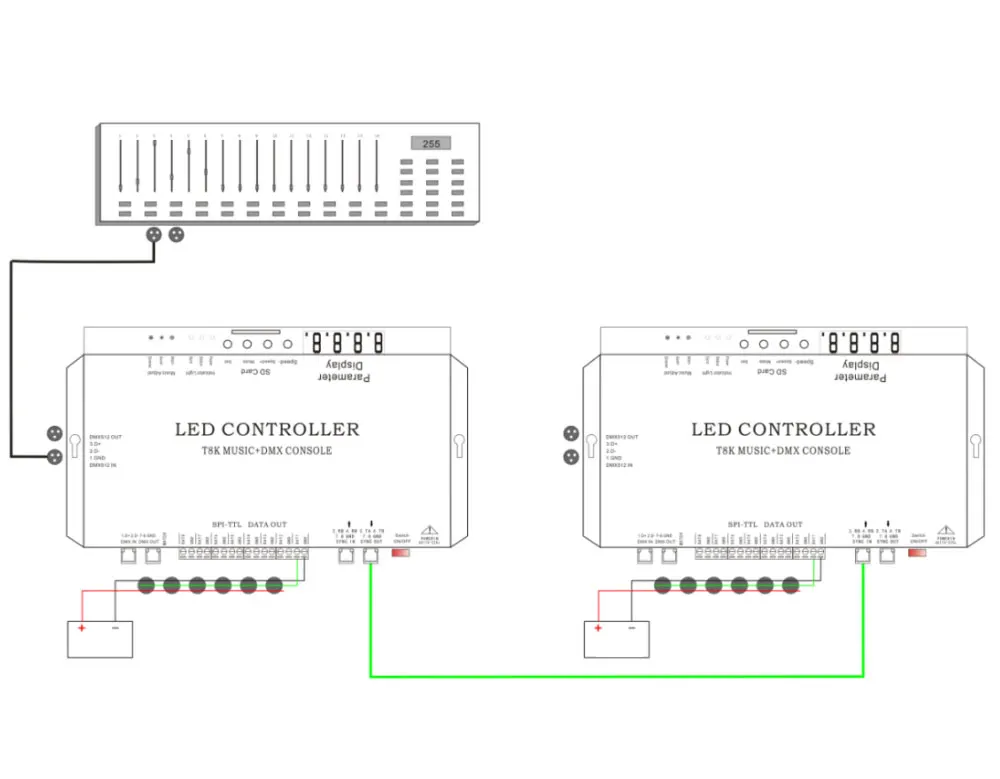
Multiple controllers can be synchronized by connecting them in cascade using network cables.
3. Program Selection in P Mode
In P Mode, press the Mode button to switch between programs.
- A-01 indicates that all programs will play sequentially in a loop.
4. Program Timing in C Mode
In C Mode, the playback time of each program in A-01 mode can be configured using an Excel-compatible CSV file stored on the SD card.
File name: music.csv
Each line corresponds to one program:
- Line 1 = playback time of Program 1
- Line 2 = playback time of Program 2
- Line 3 = playback time of Program 3
- And so on.
The value represents the playback time in seconds.
For example, a value of 5 means that the program will play for 5 seconds before switching to the next program.
- Maximum playback time: 30,000 seconds
- If
music.csvis missing or contains an error, the default playback time is 60 seconds per program.
5. Microphone and Headphone Connections
Each controller is equipped with a microphone input and headphone jack.
When controllers are connected in cascade:
- Only the Master controller receives the music signal.
- The Slave controllers receive only the synchronization signal from the Master controller.
6. Maximum Number of Programs
The controller supports up to 80 programs in a playback loop.
This allows a wide variety of dynamic, non-repetitive lighting effects to be synchronized with music.
7. Music Control and Sensitivity in C Mode
In C Mode, the controller provides two playback/control methods:
- Below 800 frames: volume control operates in Amplitude Mode.
- Above 800 frames: control operates in Speed Mode.
Press the Set button to adjust the music-control sensitivity from:
H-01 to H-12
This allows the lighting effects to respond more precisely to the music and creates a more immersive visual experience.
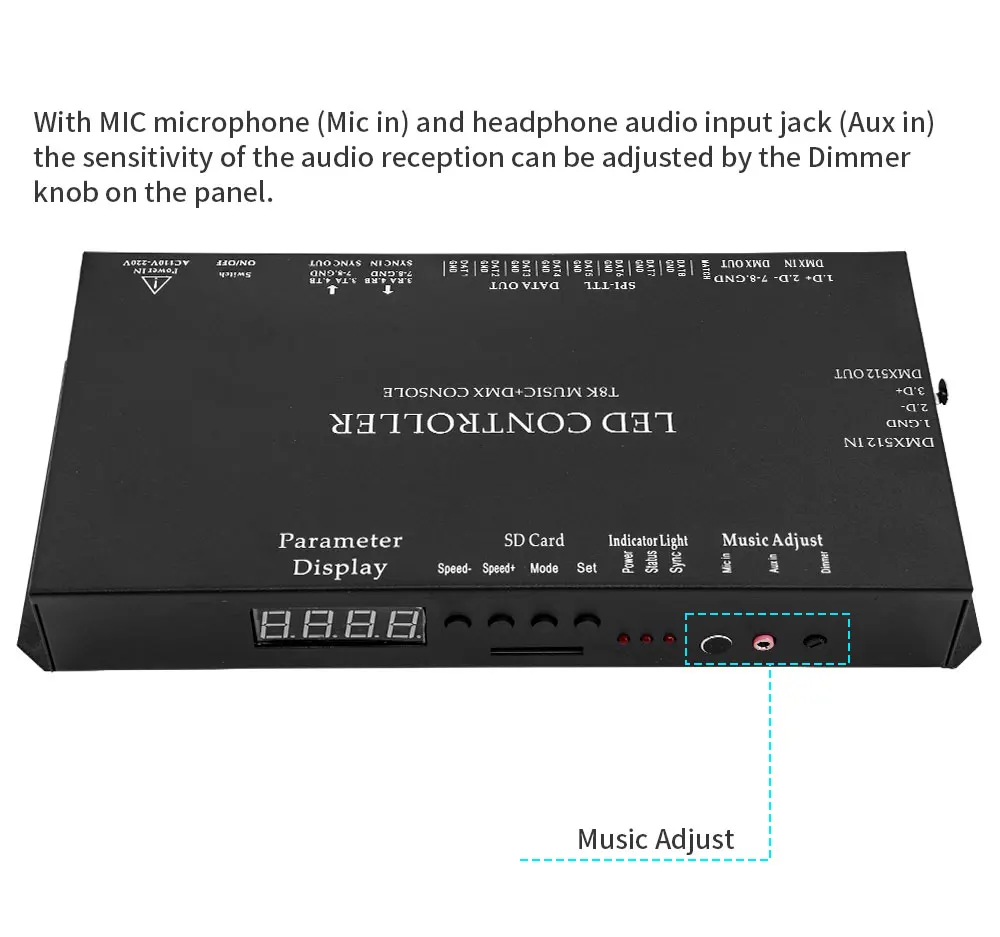
The controller also has an adjustable Dimmer knob on the front panel for additional adjustment of the music-response sensitivity.
8. DMX Connection
In P Mode, the controller can be connected to a DMX console.
When the DMX connection is successful, the display will show:
d001
The dXXX value represents the first DMX address occupied by the controller.
9. DMX Channels
When connected to a DMX console, the controller uses 6 channels:
| Channel | Function |
|---|---|
| CH1 | Program Selection |
| CH2 | Speed Adjustment |
| CH3 | Overall Brightness |
| CH4 | Red Brightness |
| CH5 | Green Brightness |
| CH6 | Blue Brightness |
10. DMX Console Control
The DMX console faders can be used to adjust:
- Program selection
- Playback speed
- Overall brightness
- Red brightness
- Green brightness
- Blue brightness
11. DMX Address Setting
When the display shows dXXX, the DMX address can be adjusted using the:
- Speed − button
- Speed + button
Each press changes the DMX address by 3.
When multiple DMX controllers are used, each controller should have a different address, with at least 6 addresses between controllers.
Example:
- Controller 1: d001
- Controller 2: d007
- Controller 3: d013
- And so on.
12. LED Control Chip Selection
In P Mode, use the Set button on the controller panel to select the required control chip.
Supported chip types include:
- UCS19**
- UCS29**
- TM18**
- WS281*
- SM1670*
- GS8205
- GS8206
- 6812
- 9823
- 9883
- TM1914
- LPD1886
- 6803
- 5109
- 8109
- 8806
- 16716
- 9813
- DMX
- DMX512
- And other supported chips
If support for an additional chip type is required, please contact your supplier.
13. Saving Settings
After adjusting the playback speed and control-chip settings, wait 8 seconds after making the changes.
The controller will automatically save the settings made using the buttons.
Once saved, the settings will be retained and do not need to be configured again after the controller is powered on.
14. Cascading Multiple Controllers
When multiple controllers are connected in cascade:
- Only the first controller (Master) needs to be controlled.
- All controllers must be powered on.
- The SD card in each controller must contain the same number of programs.
- The number of program points must be identical for programs with the same sequence number.
- The playback speed must also be identical for programs with the same sequence number.

Parameter Settings
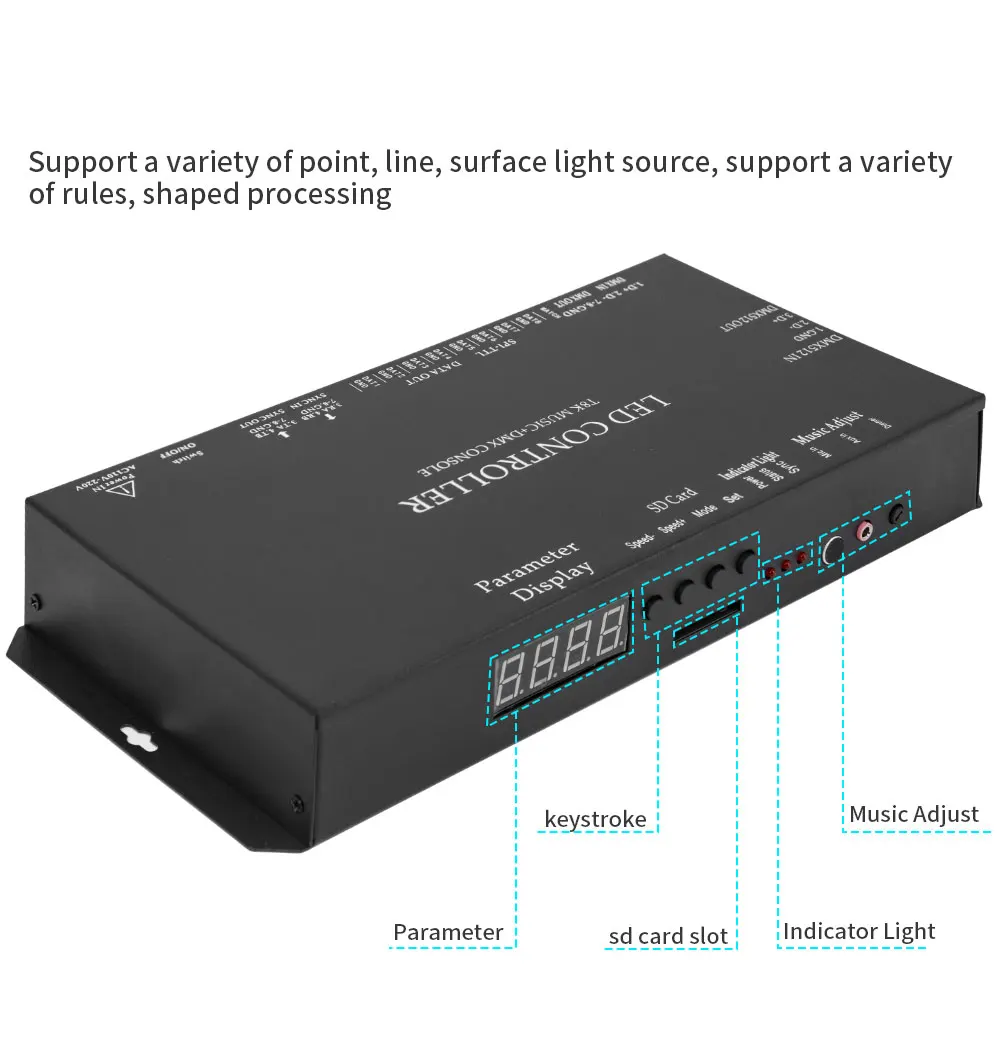
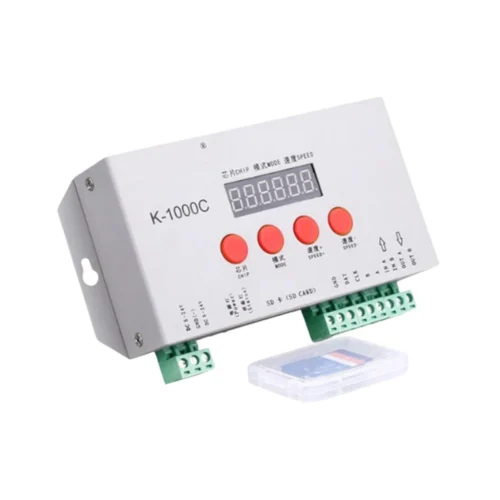
- The controller operation panel is equipped with four buttons and four digital displays.
- After inserting the SD card and powering on the controller, the display will show S-XX.
- Press the SET button to display XXXX, then select the corresponding LED chip type.
The controller supports the following single-wire ICs:
WS2811, WS2812B, UCS1903, UCS1912, TM1803, TM1804, TM1809, TM1812, UCS2903, UCS2909, UCS2912, 8205, 8206, SM16703, TM1914, and others.
If another chip type is required, please contact us for compatibility confirmation. - Press the Speed– or Speed+ button to adjust the program playback speed. The display will show S-XX.
-
Press the MODE button to select the operating mode:
- P-XX: Normal playback mode
- C-XX: Music-synchronized mode
Press and hold the MODE button to switch between Normal Mode and Music Mode.
- After completing the playback speed, program, and chip selection settings, wait approximately 8 seconds. The display will return to S-XX, indicating that the controller has automatically saved the settings. The settings will be retained and do not need to be configured again after the next power-on.
- In P Mode, the controller can be connected to a DMX console. When d001 is displayed, the DMX connection has been established successfully.
- If the controller is powered on without an SD card inserted, the display will show E-15.
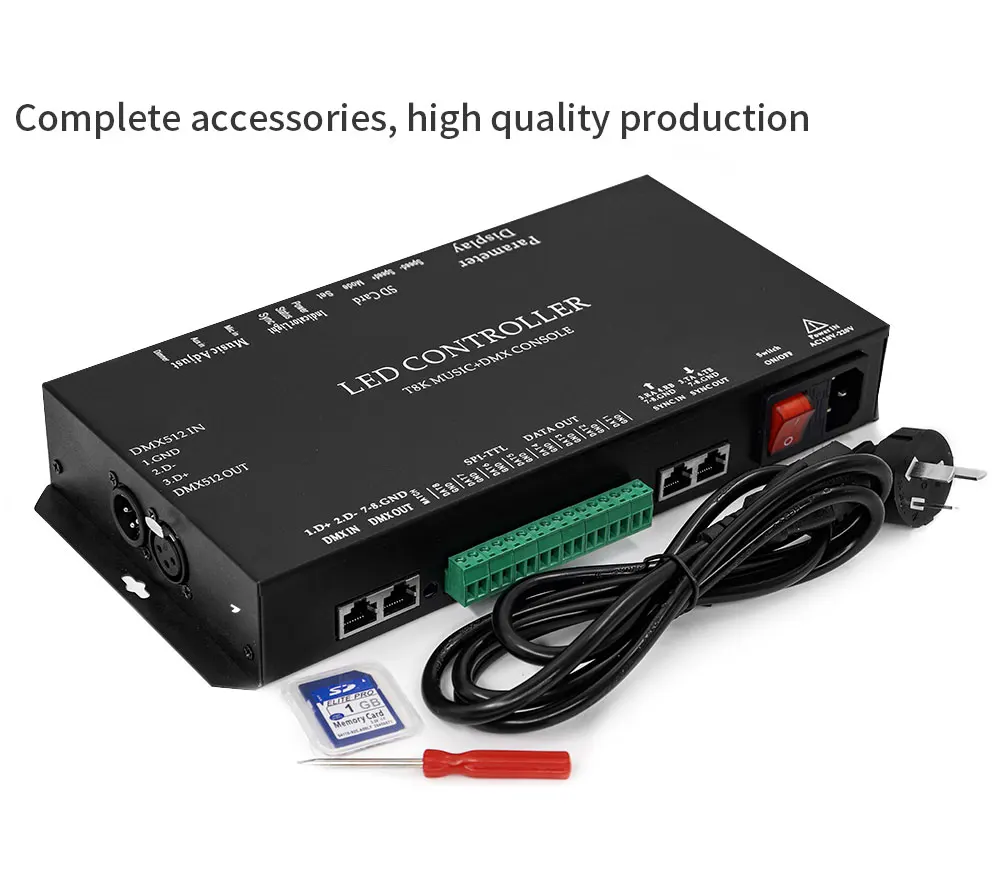
- The T8K controller is supplied with a standard 1 GB SD card containing 96 test programs. It supports FAT and FAT32 file systems and uses
.ledfile formats.
Luminaire Connection
- The controller is suitable for LED luminaires equipped with single-wire ICs.
- Standard Wiring:
- Connect the luminaire GND wire to the controller GND terminal.
- Connect the luminaire DAT (Data) wire to the controller DAT terminal.
- Connect the luminaire’s positive (+) and negative (–) power wires to the corresponding positive and negative terminals of the power supply.
-
Breakpoint Resume Function:
Under normal conditions, the luminaire is equipped with a signal line for breakpoint resumption and a GND wire.- Connect the luminaire GND wire to the controller GND terminal.
- Connect the luminaire DAT wire to the controller DAT terminal.
- Connect the luminaire’s positive (+) and negative (–) power wires to the corresponding terminals of the power supply.
Note: For certain ICs, the backup signal line may need to be connected to the controller DAT terminal.
- LED strips generally operate with a low-voltage DC power supply. The recommended supply voltage is typically DC 5–24 V. The power supply voltage and capacity must be properly matched to the actual electrical specifications and requirements of the LED luminaire.

System Features
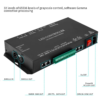
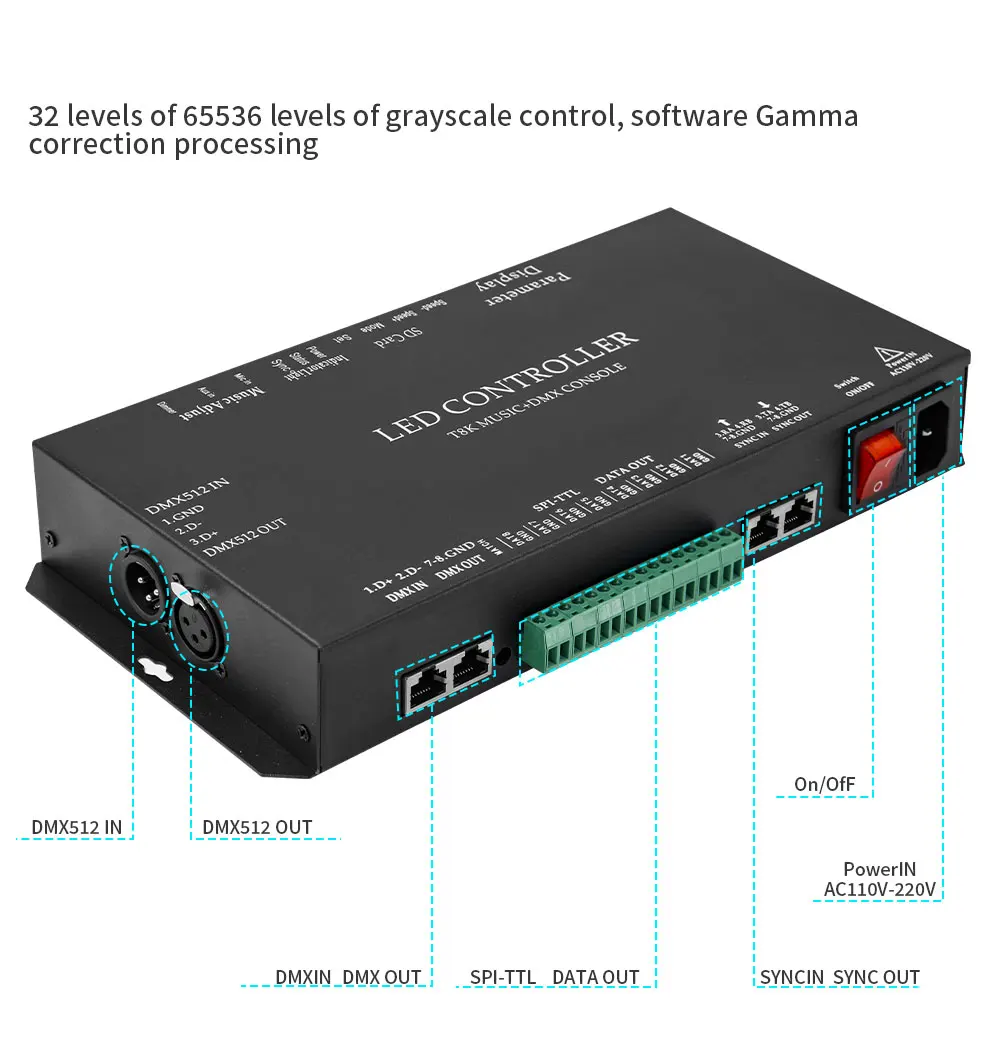
- 32–65,536 Grayscale Levels
Supports 32 to 65,536 levels of grayscale control with software-based Gamma correction for improved brightness and color performance. - Flexible Lighting Applications
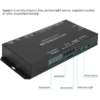
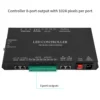
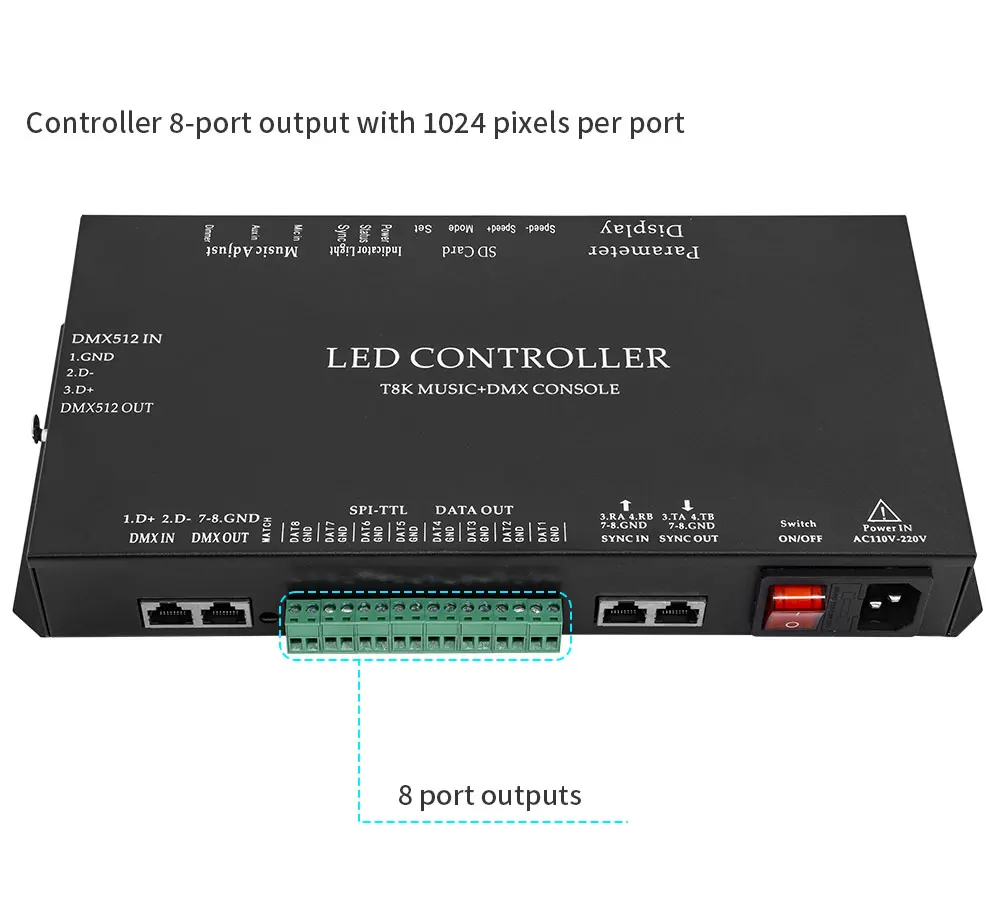
Supports various types of point, linear, and area light sources, as well as different installation patterns, layouts, and customized processing for irregular or special-shaped lighting fixtures. - 8 Output Ports
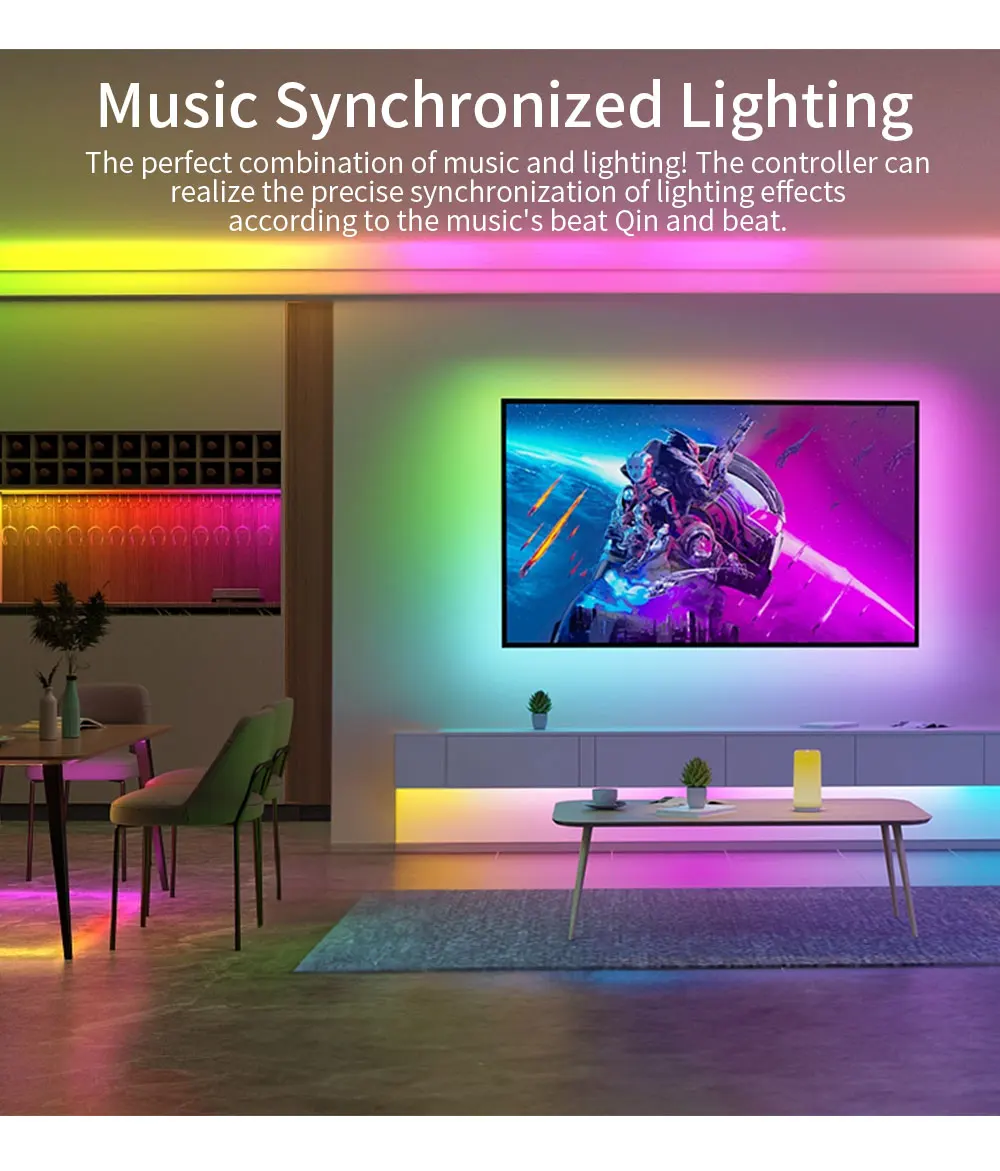
The controller provides 8 signal output ports, with each port supporting up to 1,024 pixels. - Audio Synchronization
Equipped with a MIC (Microphone) input and an AUX audio input interface. The audio input sensitivity can be adjusted using the DIMMER knob on the front panel.
Product Specifications
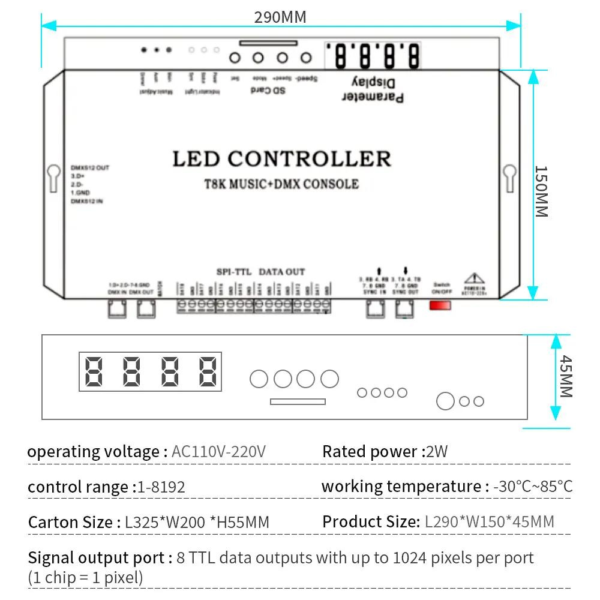
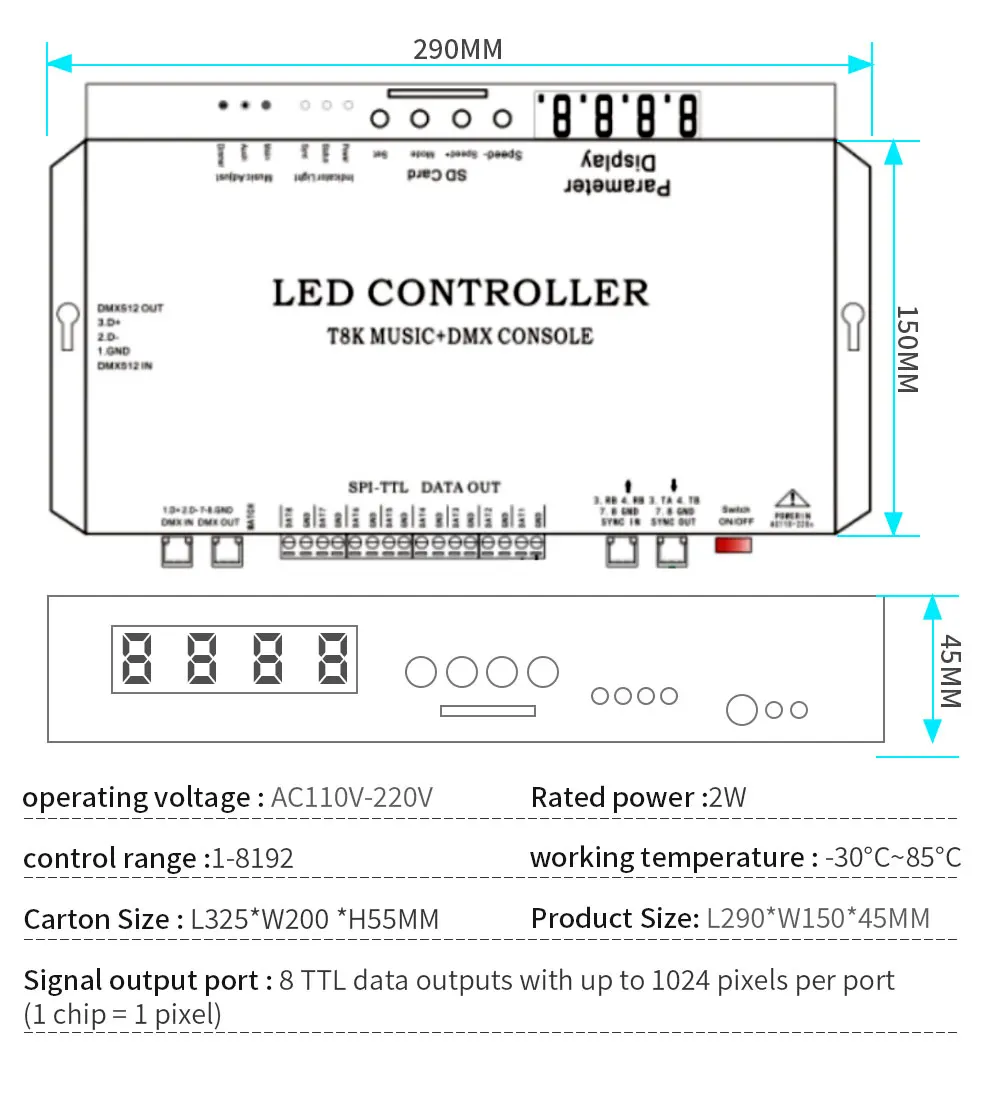
| Parameter | Specification |
|---|---|
| Working Voltage | AC 110–220 V |
| Rated Power | 2 W |
| Signal Output Ports | 8 ports, TTL data output |
| Maximum Pixels per Port | Up to 1,024 pixels |
| Pixel Definition | 1 IC = 1 pixel |
| Control Range | 1–8,192 |
| Working Temperature | –30°C to +85°C |
| Product Dimensions | 280 × 150 × 45 mm |
| Net Weight | 1 kg |
Technical Notes
- Signal Output: TTL digital data output.
- Output Capacity: Each of the 8 ports can control up to 1,024 pixels, subject to the specific LED IC and system configuration.
- Pixel Definition: One control IC is counted as one pixel.
- Operating Environment: The controller is designed for operation within an ambient temperature range of –30°C to +85°C.
1 review for T8K Music DMX Console SPI-TTL Led Strip Light Controller 8 Channels Port With Mic in/Aux in For WS2811 WS2812B WS2813 WS2815
LEDEdit TM –
Pixel LED Effects Download Pack: 7000 Effects for LEDEdit
https://lededittm.com/pixel-led-effects-download-pack-7000-effects-for-lededit
Pixel LED Effects Download Pack For LEDEdit, NeonPlay, LEDEasy, LEDBuild, Madrix, Jinx, and Glediator.
The best video effects and animations for Pixel LED software.
– Files: 7000+
– Size: 25 GB+
– Formats: SWF, TOL, AVI, MP4, and GIF